Galvo fiber laser lenses need calibrated in order to produce accurate markings.
Most instructions I've read require manual measuring using calipers. While this gets close I noticed with there was still non-linear distortion.
After several attempts at calibration I was able to get a more accurate calibration using the following procedure.
- Use a printer to print an all black or grey rectangle on a piece of paper
- Mark the paper using the calibration software (in my case EZCad's CorFile2 program). Start with a low power and increase until the markings are visible.
- Scan the marked paper using a document scanner at a the highest resolution possible.
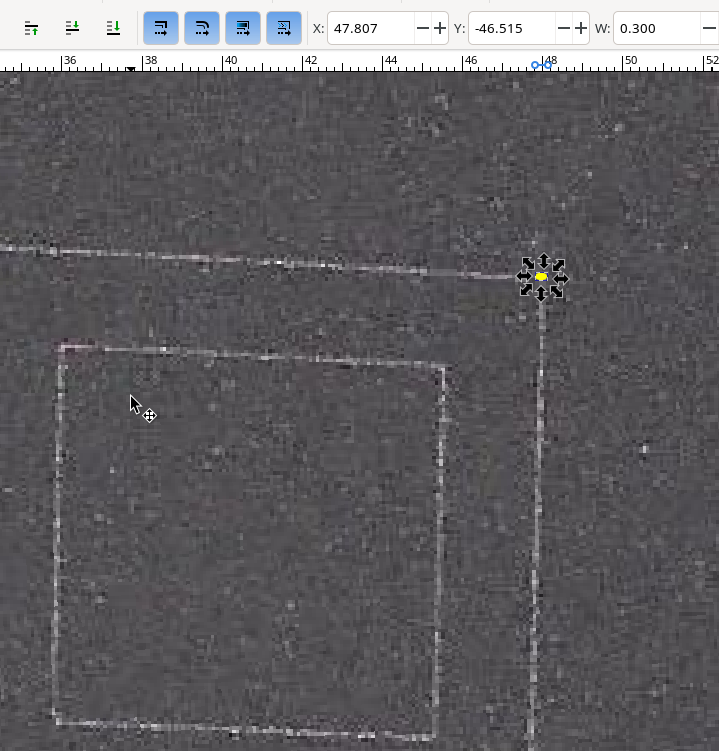
- Open the scanned document with Inkscape and put the document in "mm" units.
- Align the center of the laser marking with the zero position in Inkscape.
- Rotate the scanned image along the zero point until the X and Y scan axis align with the origin in inkscape. Also make sure it is oriented the same as in the calibration software.
- Optional: You may need to scale the image with a manual measurement on a calibers if your scanner is off.
- Next draw a small circle at each of the 9 calibration points
- Enter the X/Y position of each circle into the calibration software and generate the ".cor" file.
After using the method above distortion due to manual measurement error was reduced and the marking accuracy was improved.
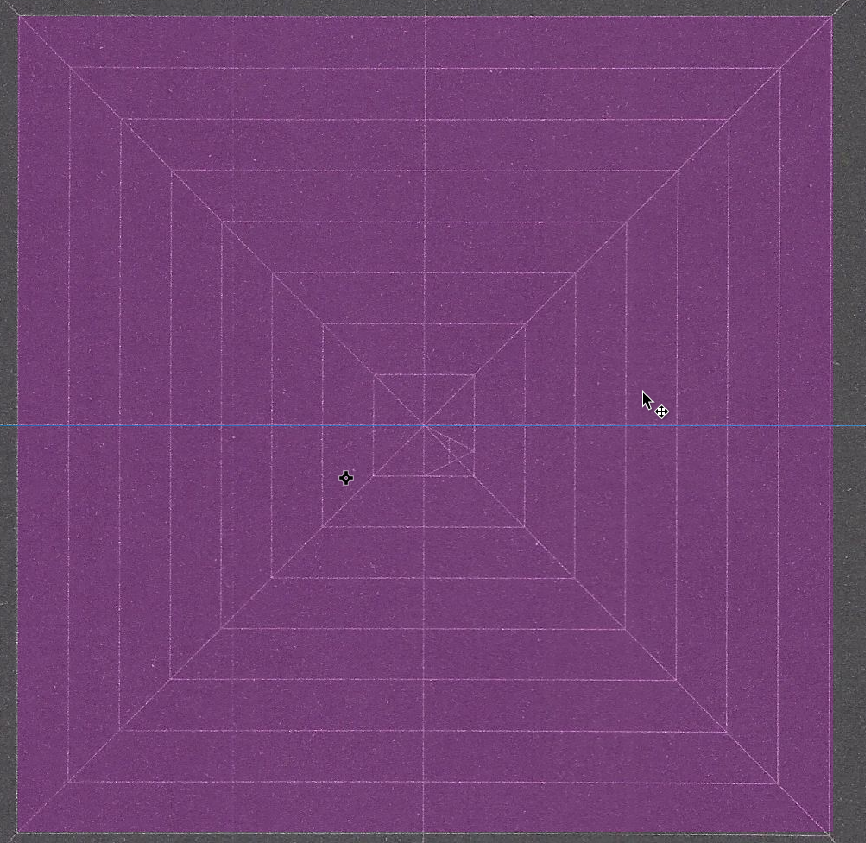
A similar process can be used to verify the result. To show the difference here is the 80mm rect with the manually measured calibration
Versus the one done with inkscape
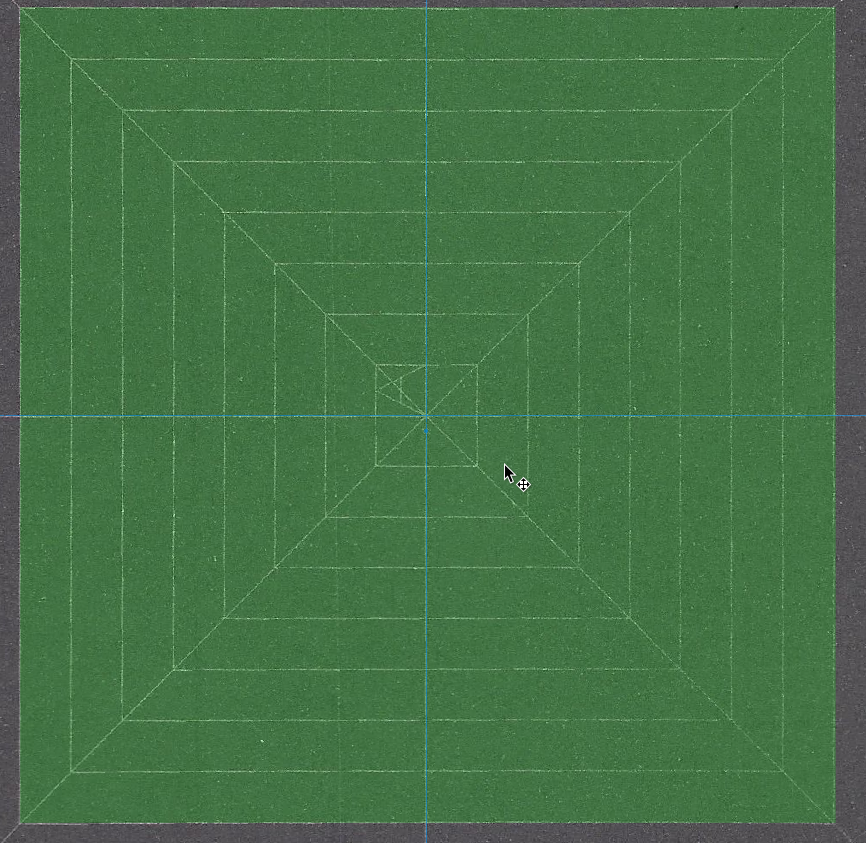
Nether is perfect and both are pretty close, but the skew in the manually measured cal file is particularly noticable at the bottom right corner.
Hope it helps. Cheers.