Finalizing my series of posts on cutting pcb solder paste stencils with a rotary engraver.
See the last post if you havent. I'm using a Dahlgren 300z rotary engraver with a 15 degree carbide tip v-bit. The spindle runs at about 20k rpm. The stencils are cut out of metal shim stock that is inexpensive and can be found in various sizes.
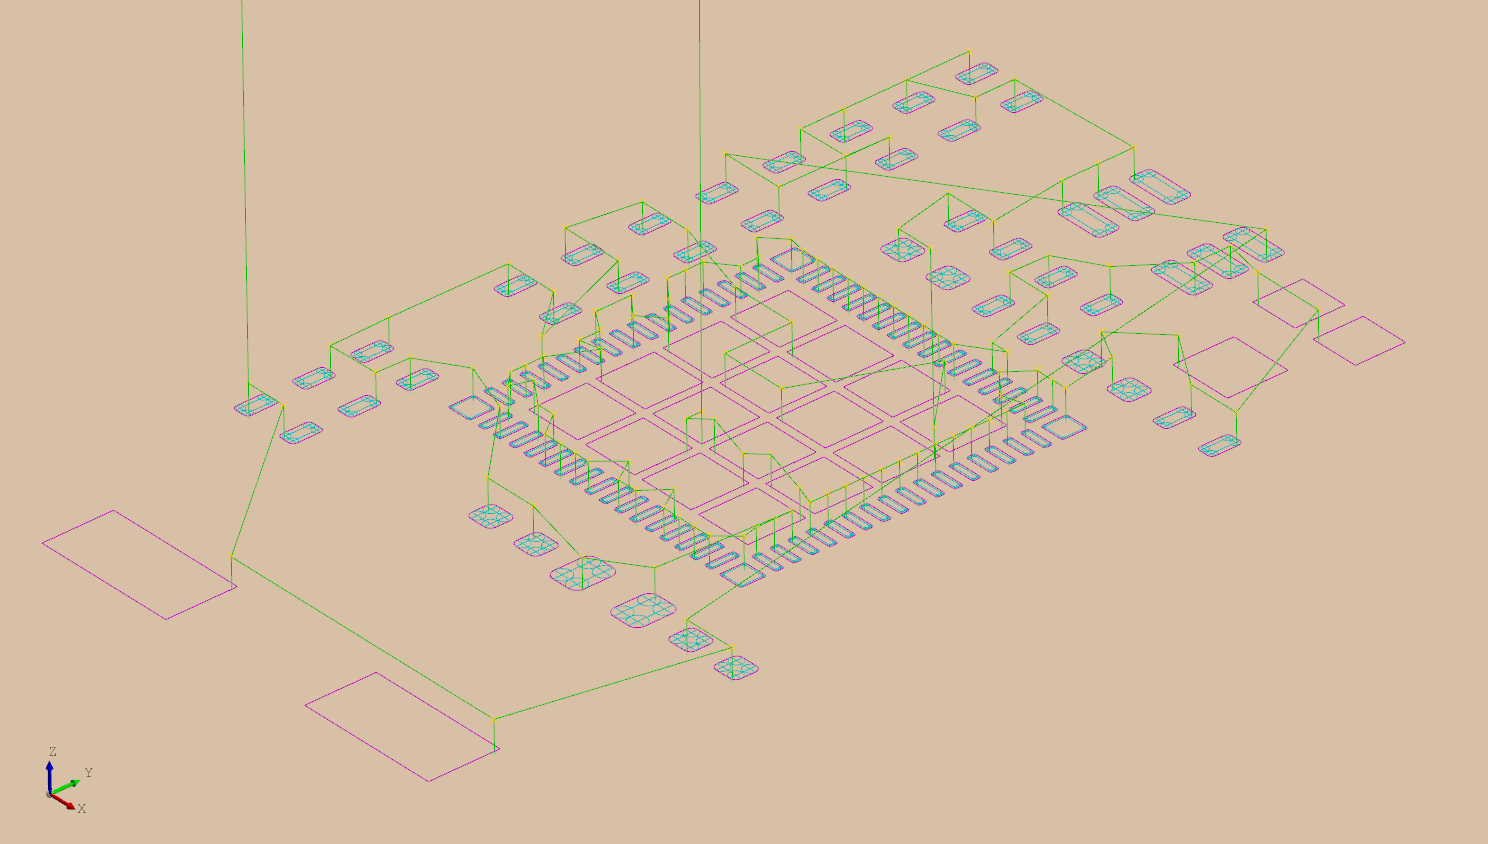
I'm using DeclaraCAD to take the solder paste layer exported from Horizon-EDA and generate G-code and send it to my home-brewed controller but any software should work.
Some tips on improving the stencil cutting process...
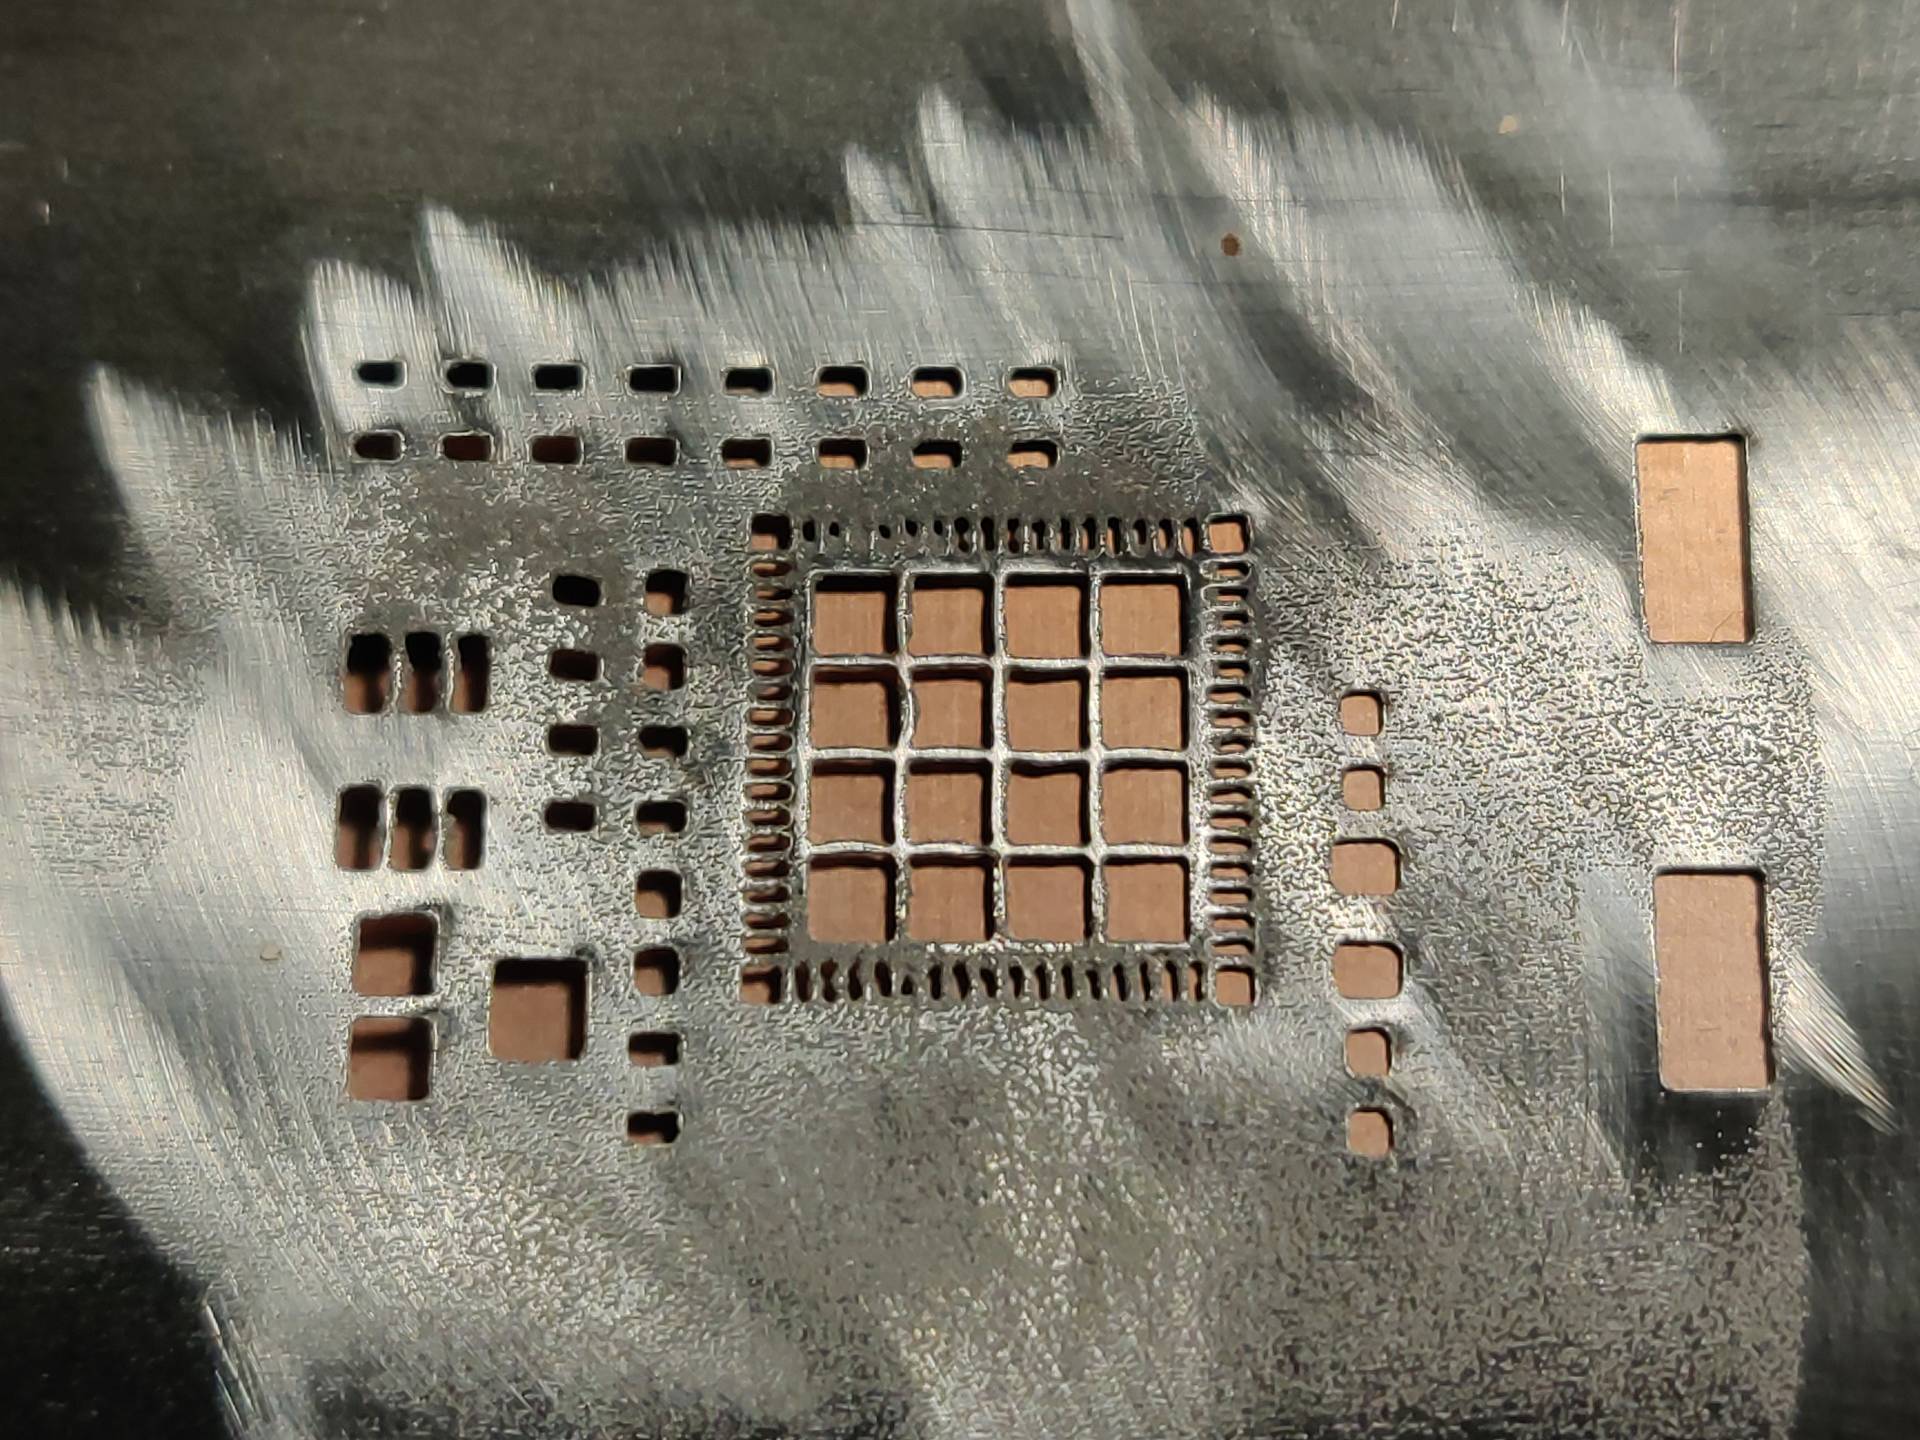
When cutting each aperature, make sure to do 2 or 3 passes on each. This helps clean up the edges and helps it cut through as one pass might not do it every time.
After the stencil is cut, very lightly sand each side with a fine grit sandpaper using a dremel. This clean's up a lot of the burs left and leaves a much cleaner edge. It will also finish some of the cuts where the cutter didn't go completely through. You may need to do some touch up with an xacto knife and lightly sand it several times.
The most important thing with the whole process is to make sure the cutter backing board is flat and the stencil is tight. If you can, create a surface map to compensate for unevenness. I measured the cutting board I've been using and it had a deviation of over 10 thou! That's 2-3x the stencil thickness!
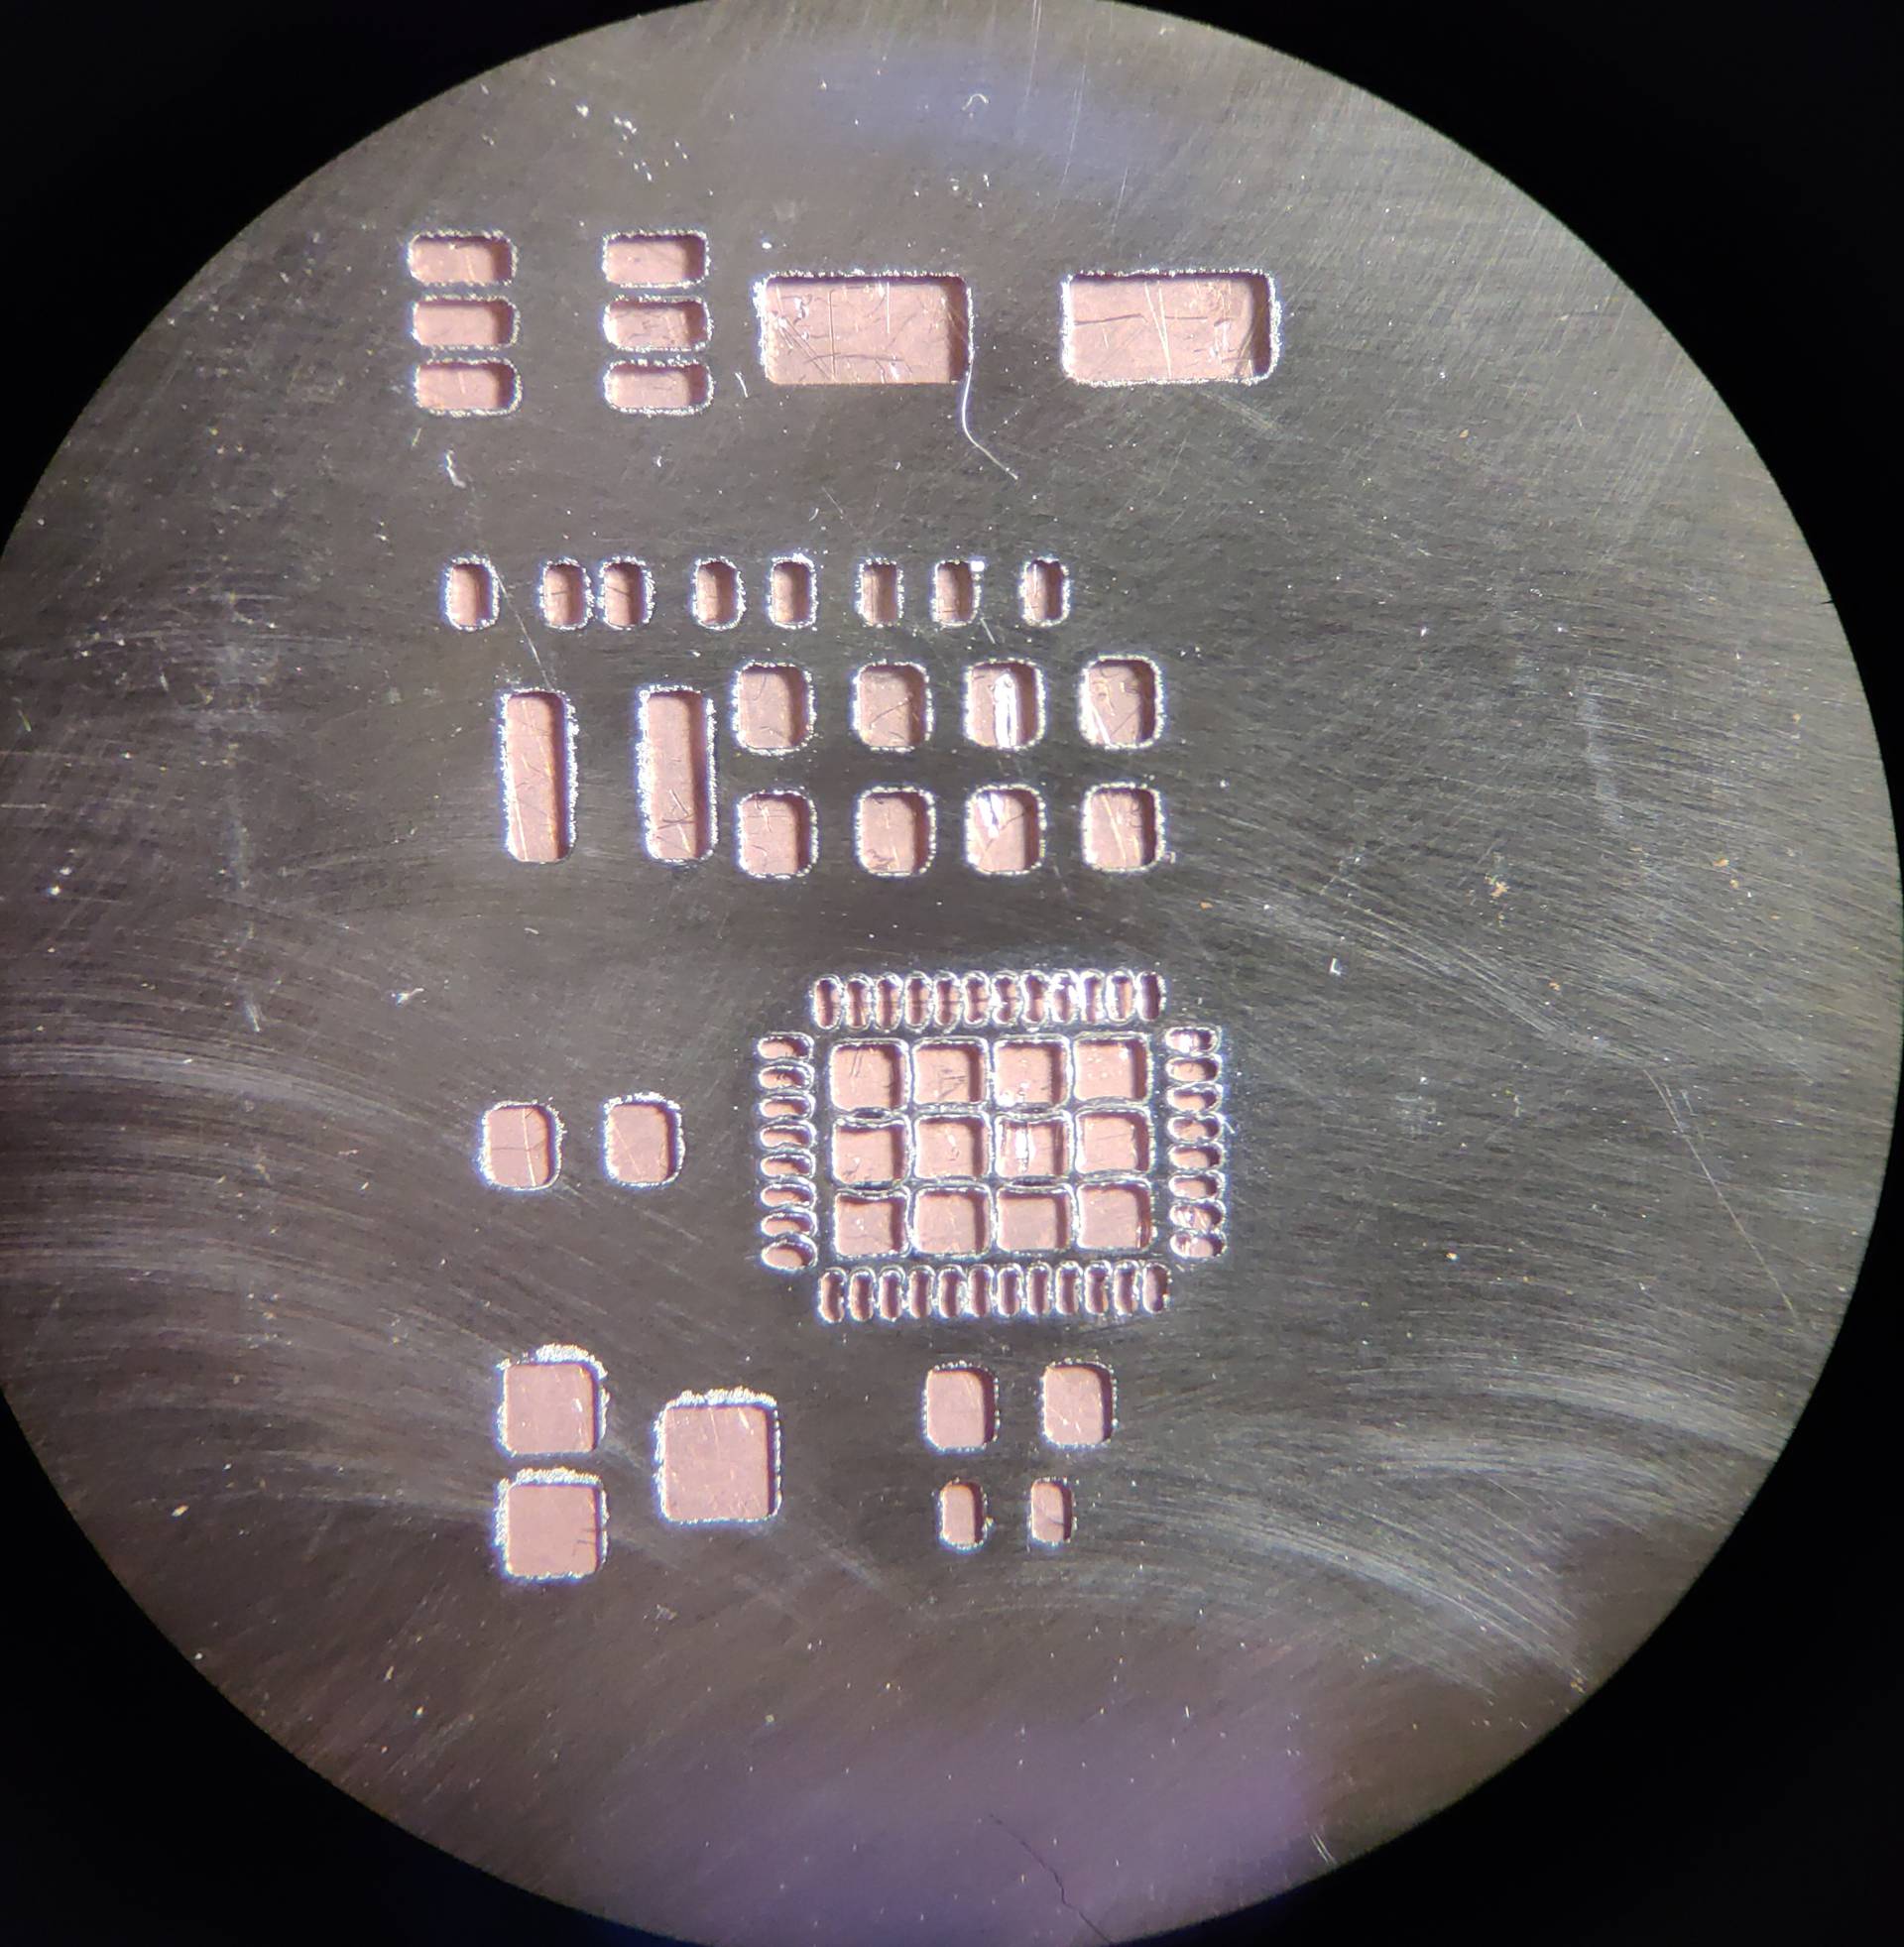
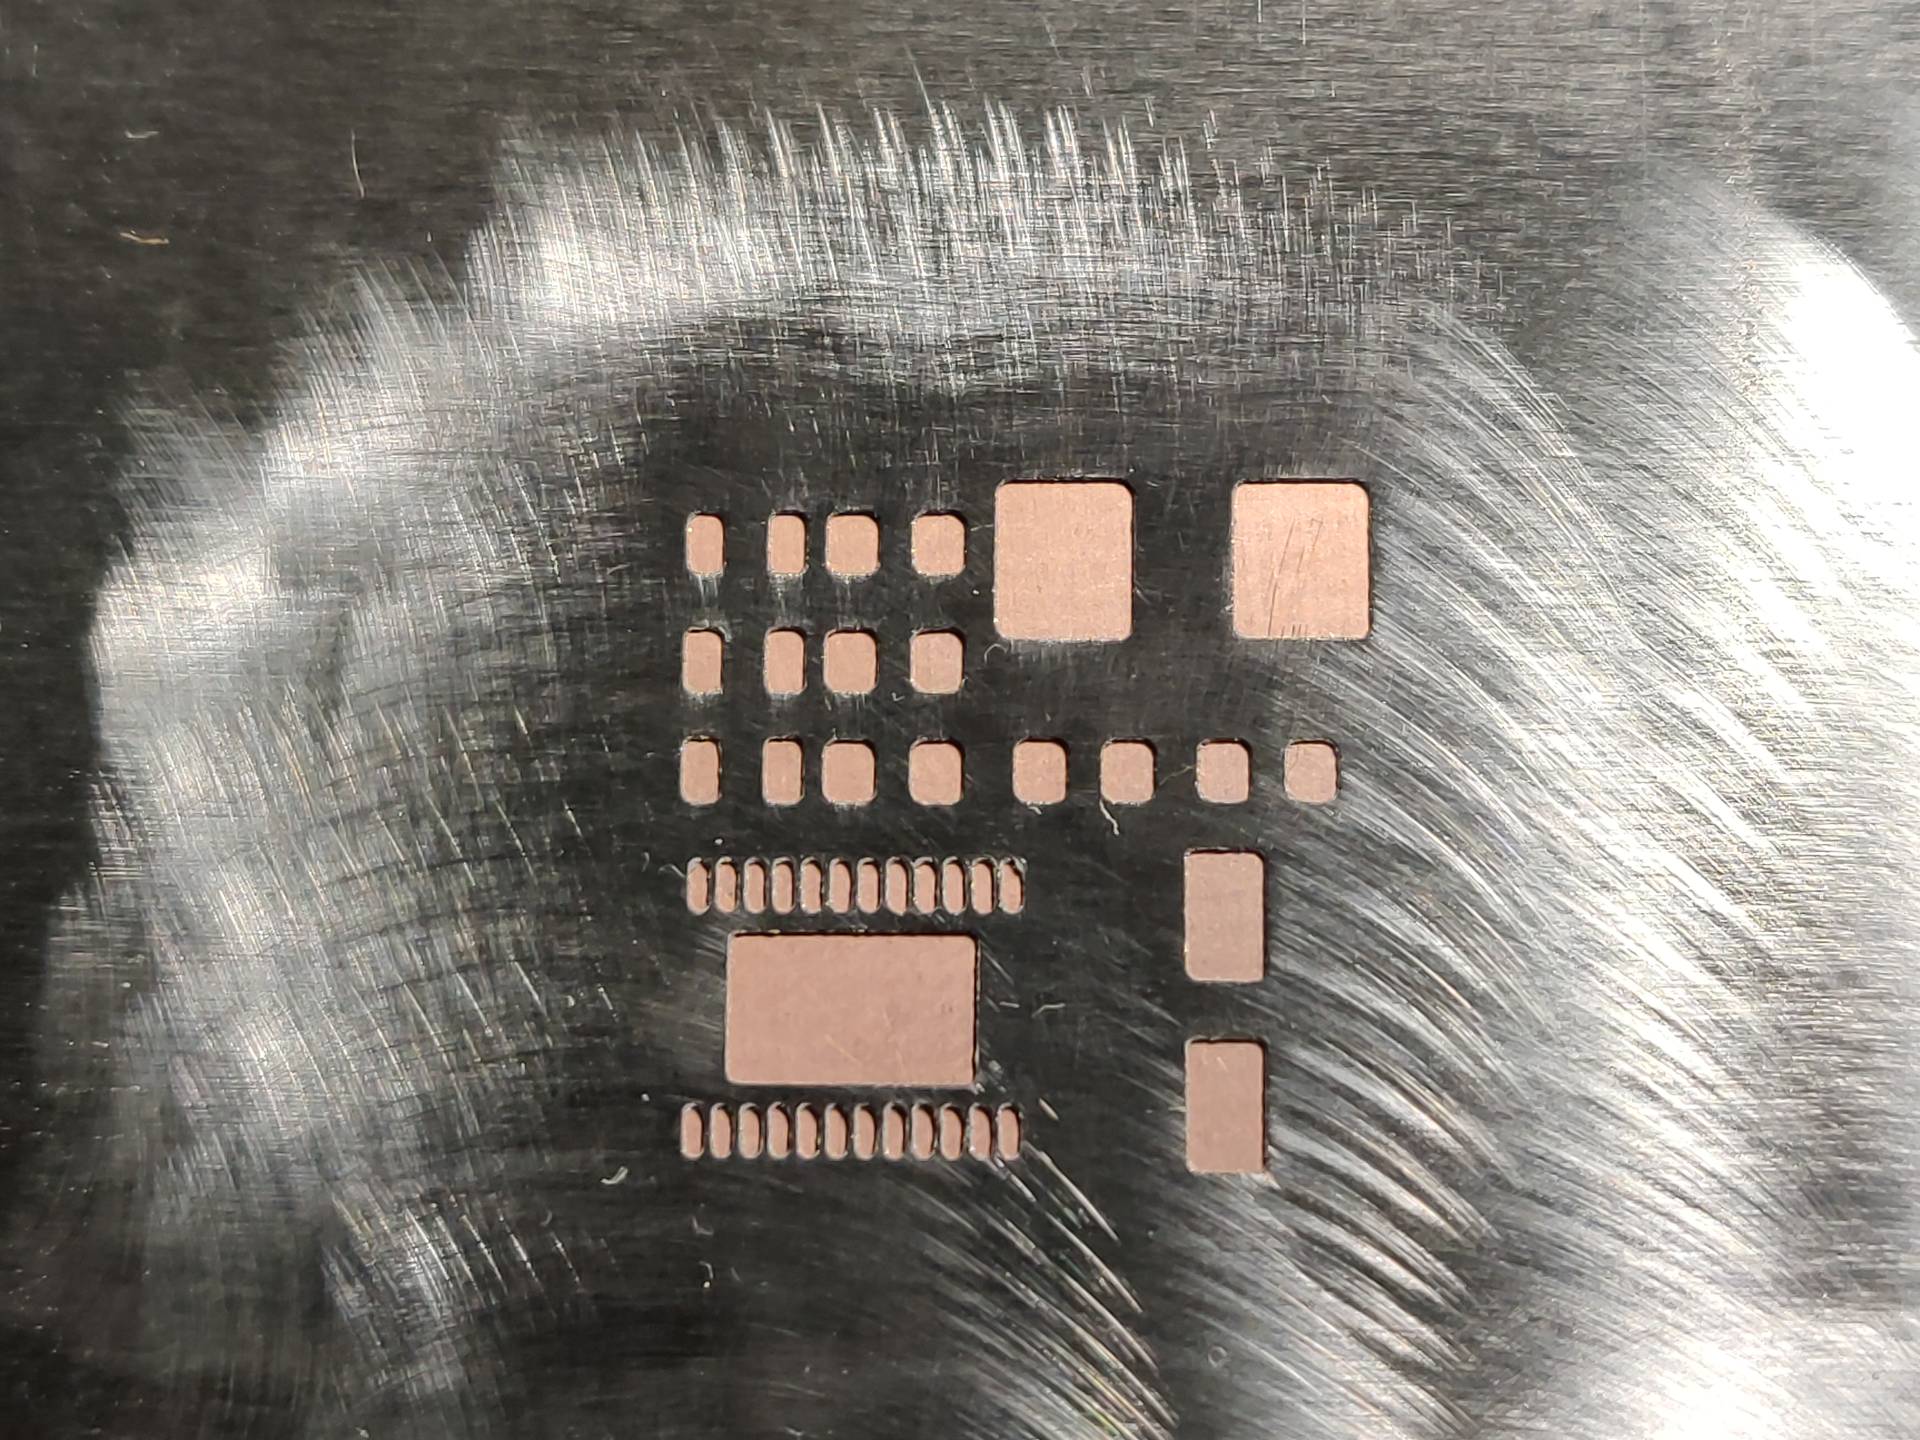
In summary, it makes very usable stencils fine for up to about 0.4mm pitch QFN pins. Anything larger has no problem. The stencils cost less than a $1 to make and are perfect for one off / prototype boards.
If your design allows it, use a 5 thou stencil. It is more rigid and more forgiving to deeper cuts. Fine pitch QFN's will need a 3 thou stencil and are more difficult to cut and handle.
The most difficult sections to cut is are the windows of the thermal pads as the stencil structure becomes very weak once the holes are cut.
The larger the stencil the more important the flat surface and/or surface mapping is.
If someone else tried this and has any other tips, please let me know. Thanks!