Getting the steppers working was quite easy. The guy I bought the engraver from said the spindle worked but he couldn't get the steppers working.
Here's one of the old stepper driver cards alongside a new driver (that got blown up in the process).
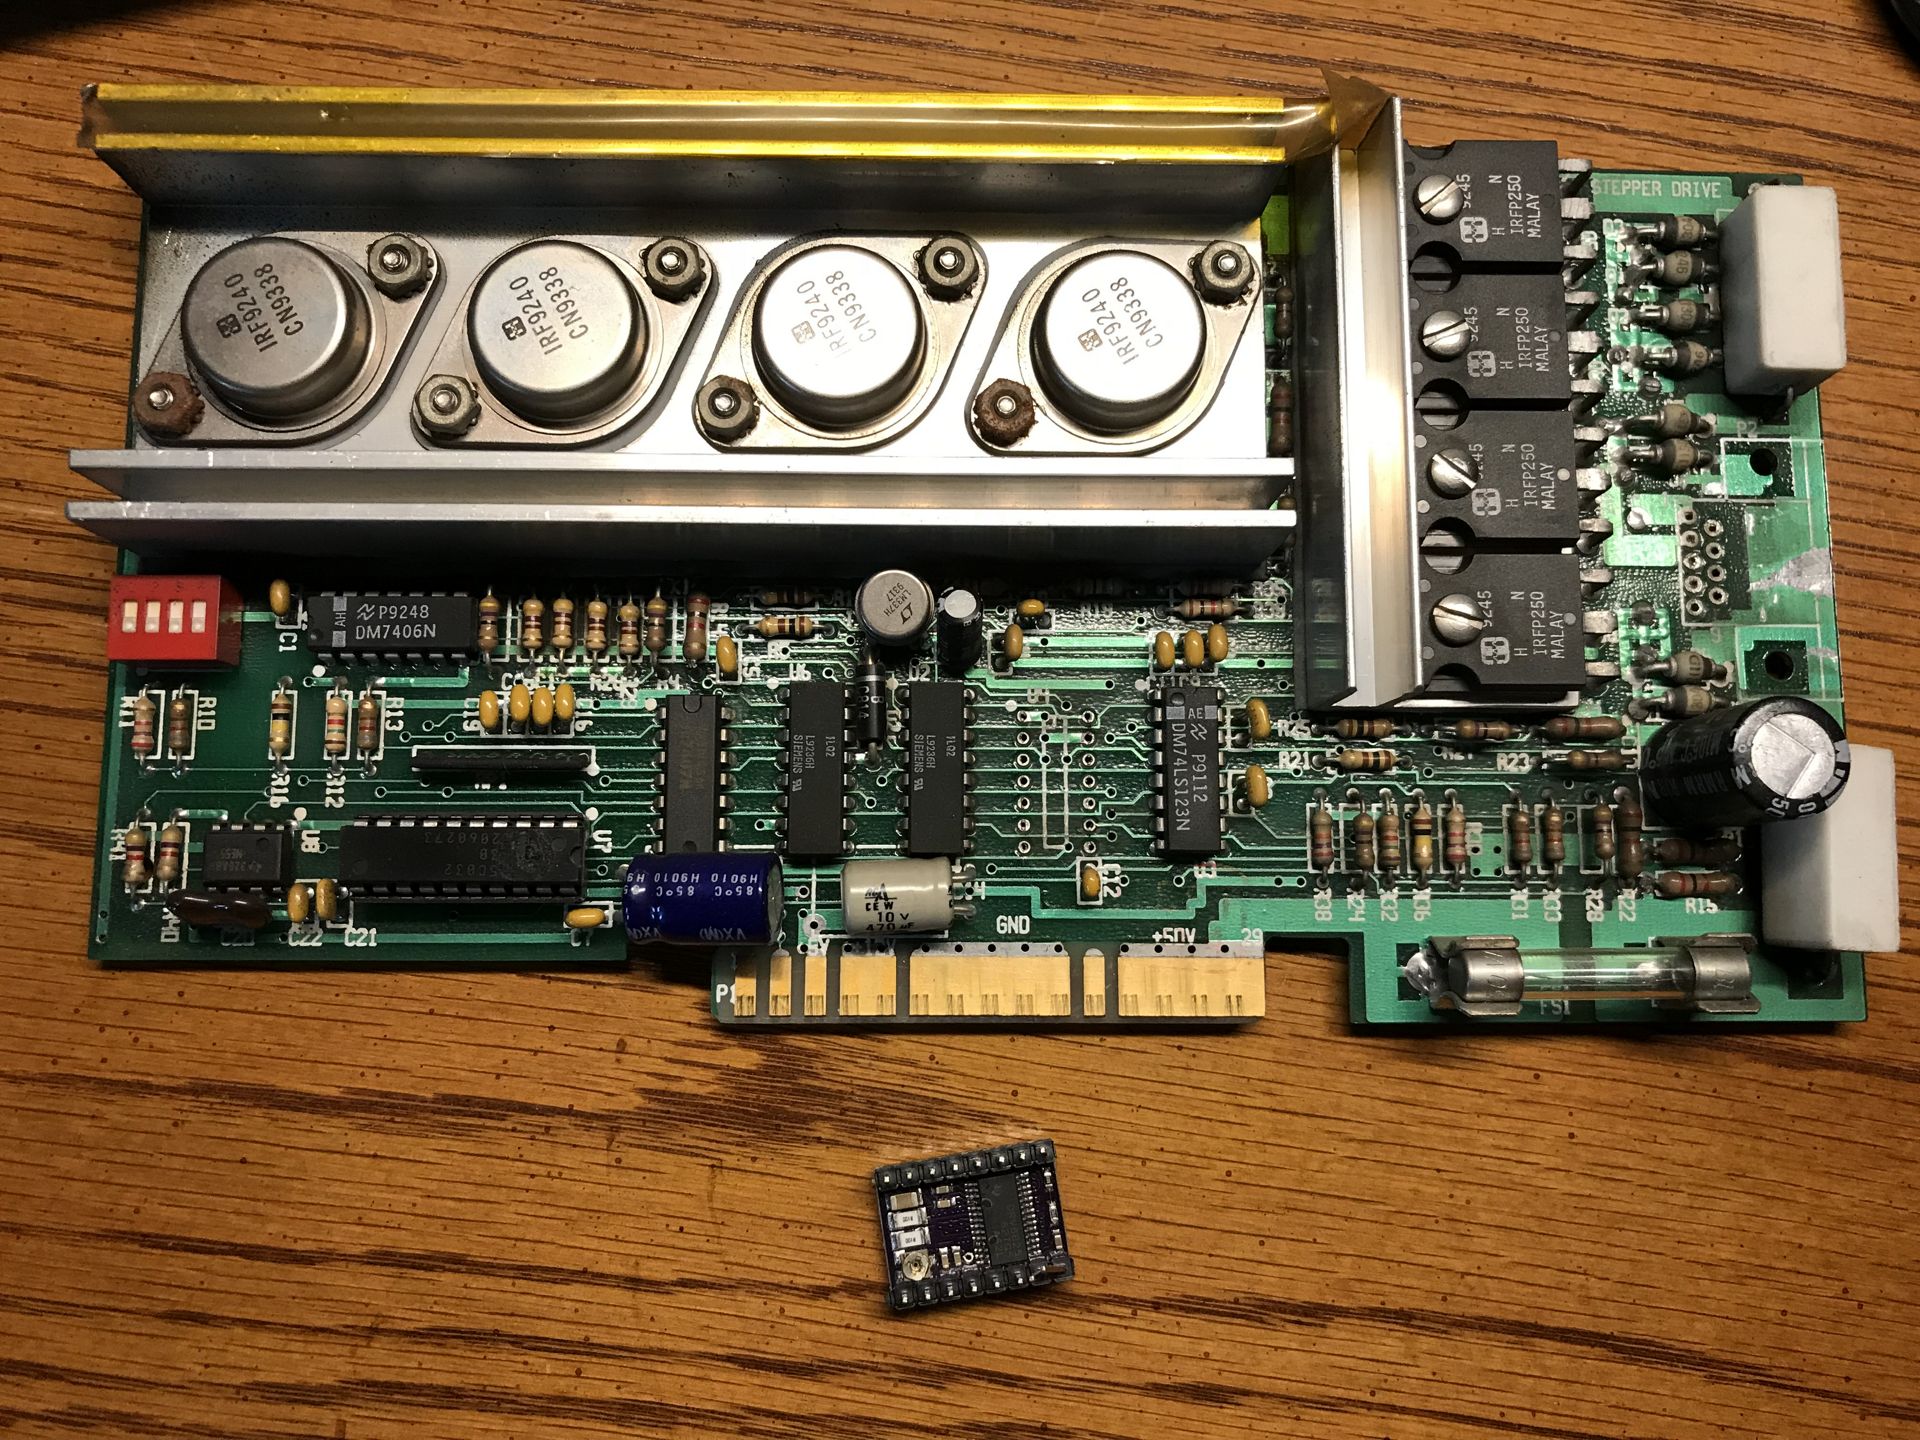
It's amazing how technology changes in 20 years. The original card is labeled 50v, my current supply is 24v (ripped out of a broken TV), so eventually I'll upgrade to a 48v supply.
Here's the new setup as it is now:
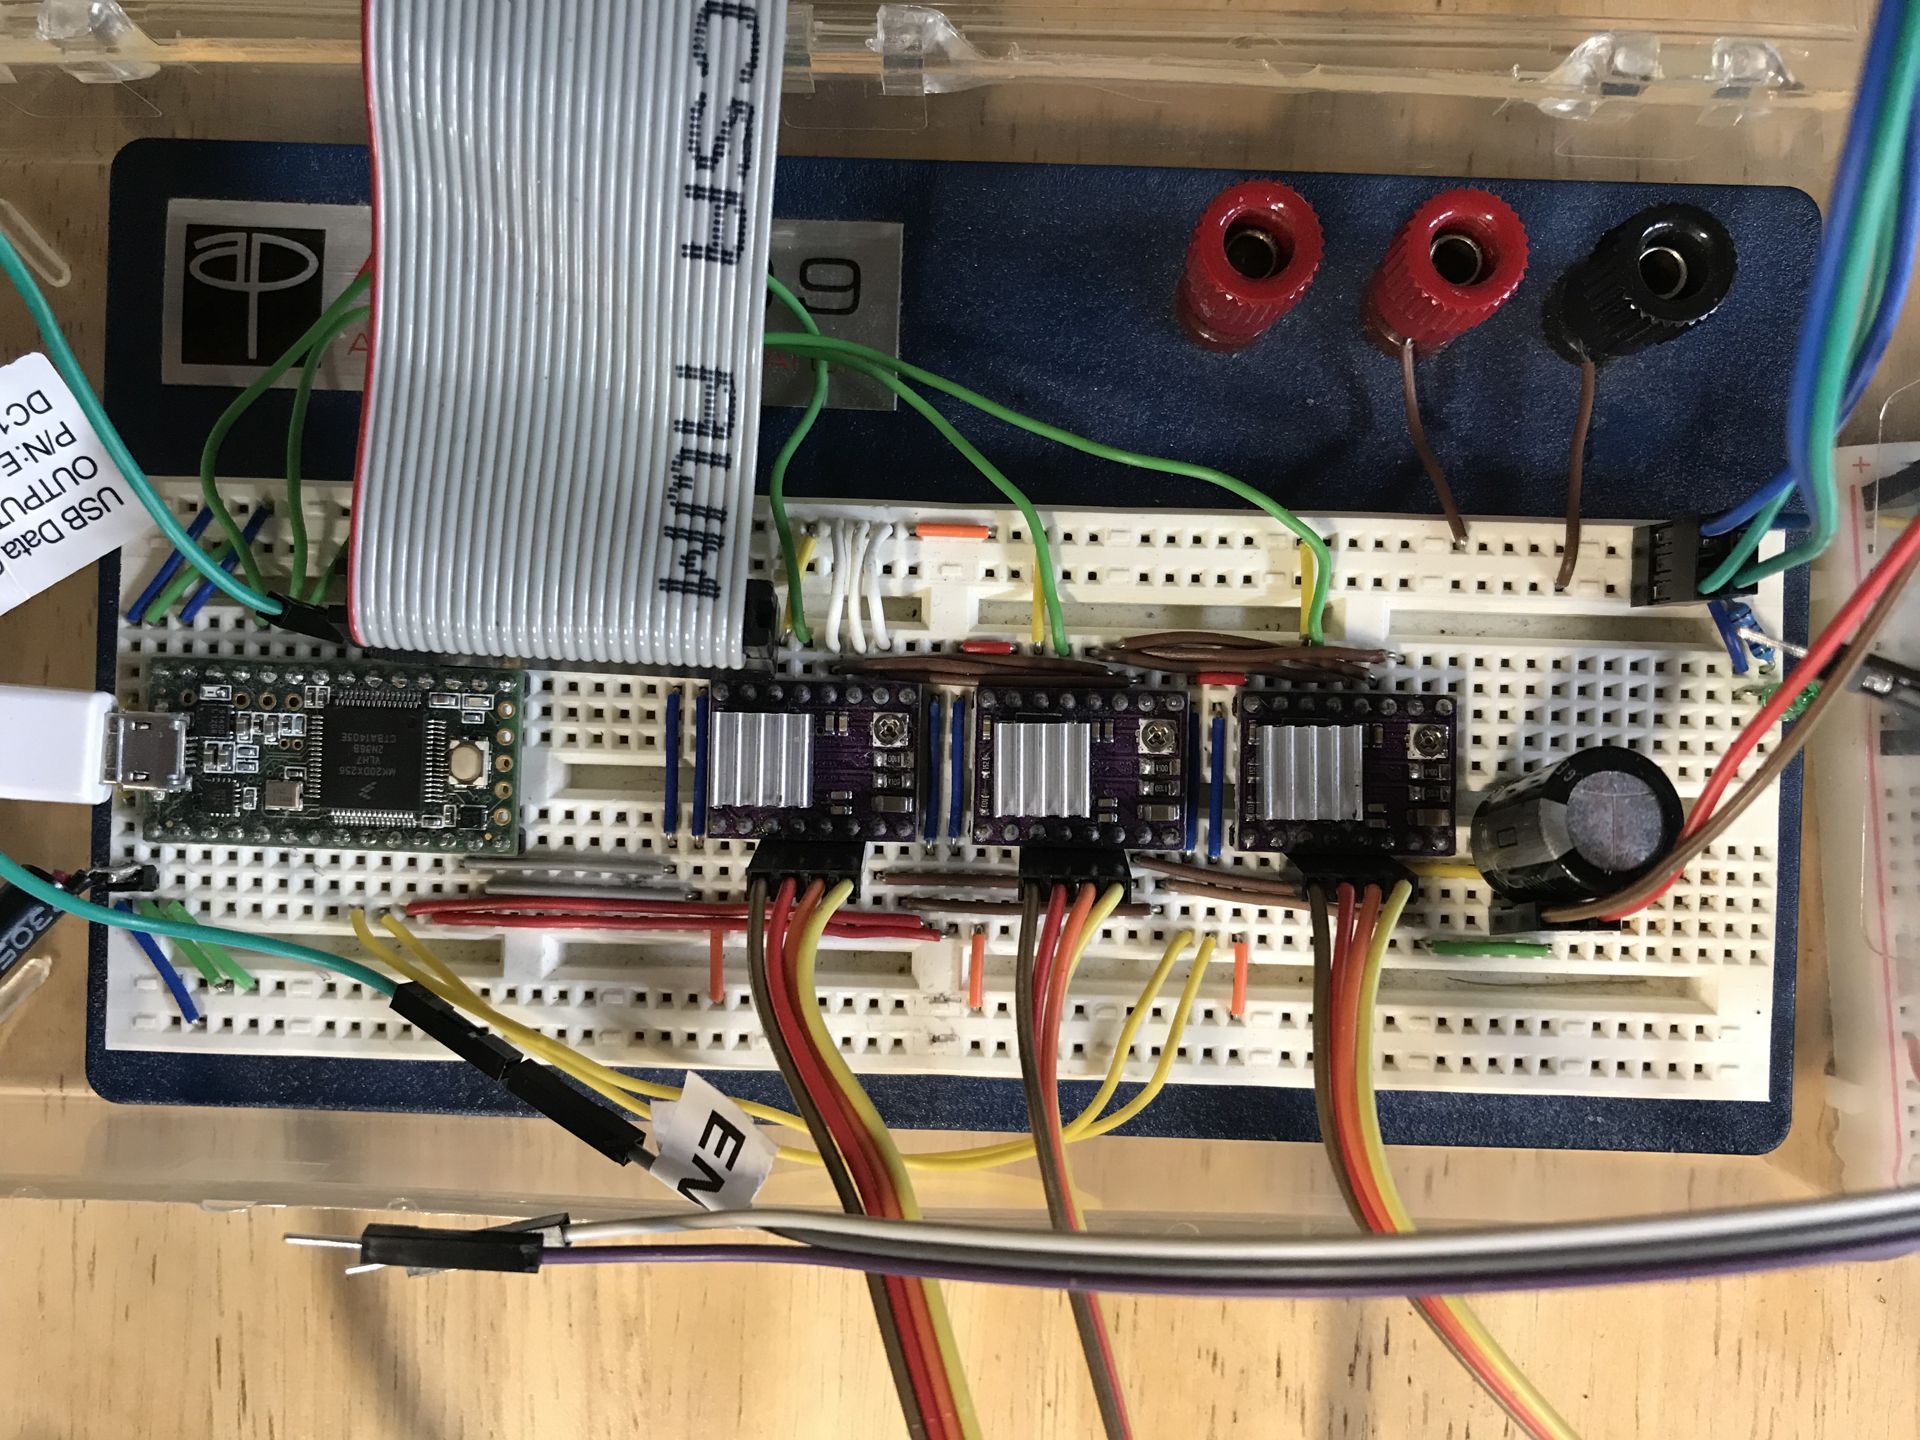
I flashed TeenseyStep on a Teensy 3.2, hooked up some DRV8825 stepper drivers and wrote a little code to parse HPGL from Inkcut running on a Raspberry Pi to test it all out.
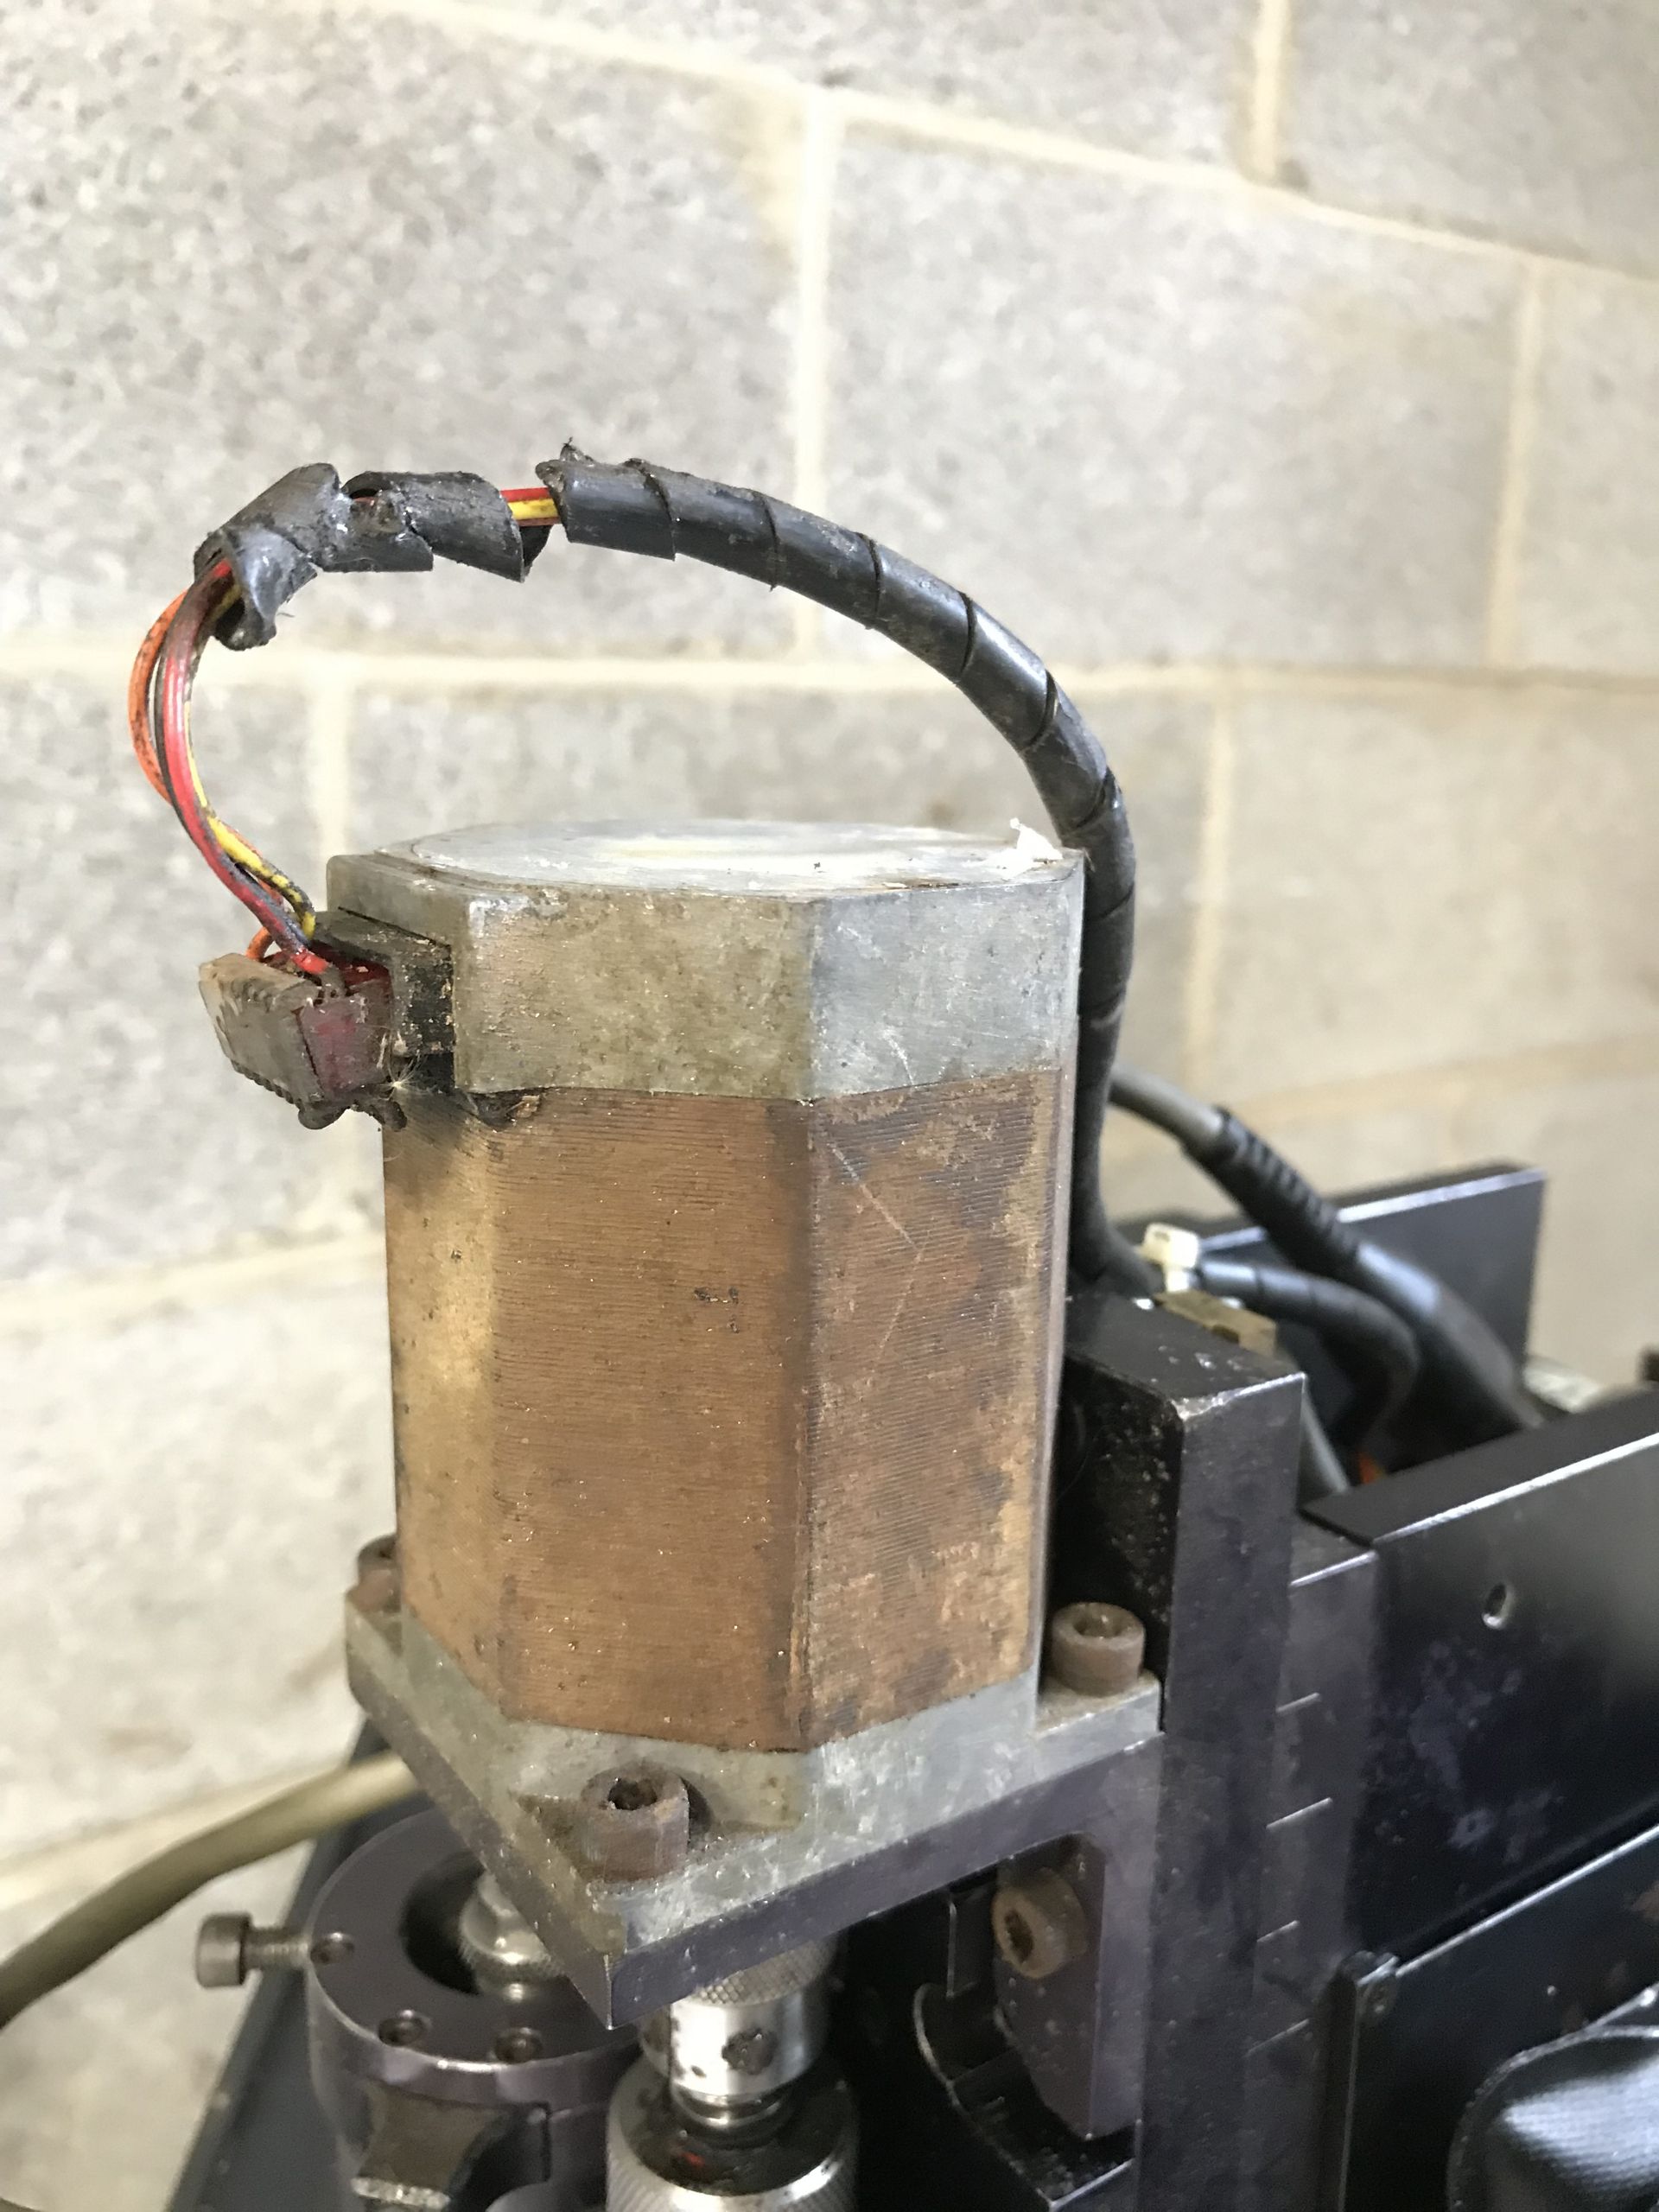
The motors have 8 wires but half of them are jumpered so only 4 wires come out for the A and B coils. Connecting them up was straightforward
After cleaning the tracks and adjusting the current it is able to move smoothly at higher speed. Even on the 32 microstep setting it still moves pretty good. The limit seems to be at ~100k steps/sec even though teensystep can go to 180k. Moving to a 48v supply will help more.
Here's the result:
The TeensyStep code will need modified to process paths so it doesn't start and stop at every point because it's currently very slow on any curve but it's a start.
Next post will be on how I got the spindle going. I'm still unsure if that will be powerful enough for what I want, we will see.